Comentario is my choice for a blog commenting system
Simple setup and easy to maintain, should make you feel at ease implementing comments on your blog.

…and the reasons behind my choice are multiple, being open source and able to be self-hosted are of course the 2 big ones.
December 2025 Update!
So as not to confuse anybody coming to this site, I've taken down the commenting system because the SMTP relay I was using for communication needed a string as a username and Comentario implemented a check that marks this entry as an invalid email address and thus won't start. I first looked for a solution, no-one even reported anything yet, so I uninstalled the comments section and returned operations to normal. Everything was working fine for a year with Comentario except for the fact that almost no-one but a couple of people made any comments, I know this isn't Times Square, and I've figured it's not worth the hassle of updating yet another container.
Now on with the original article...
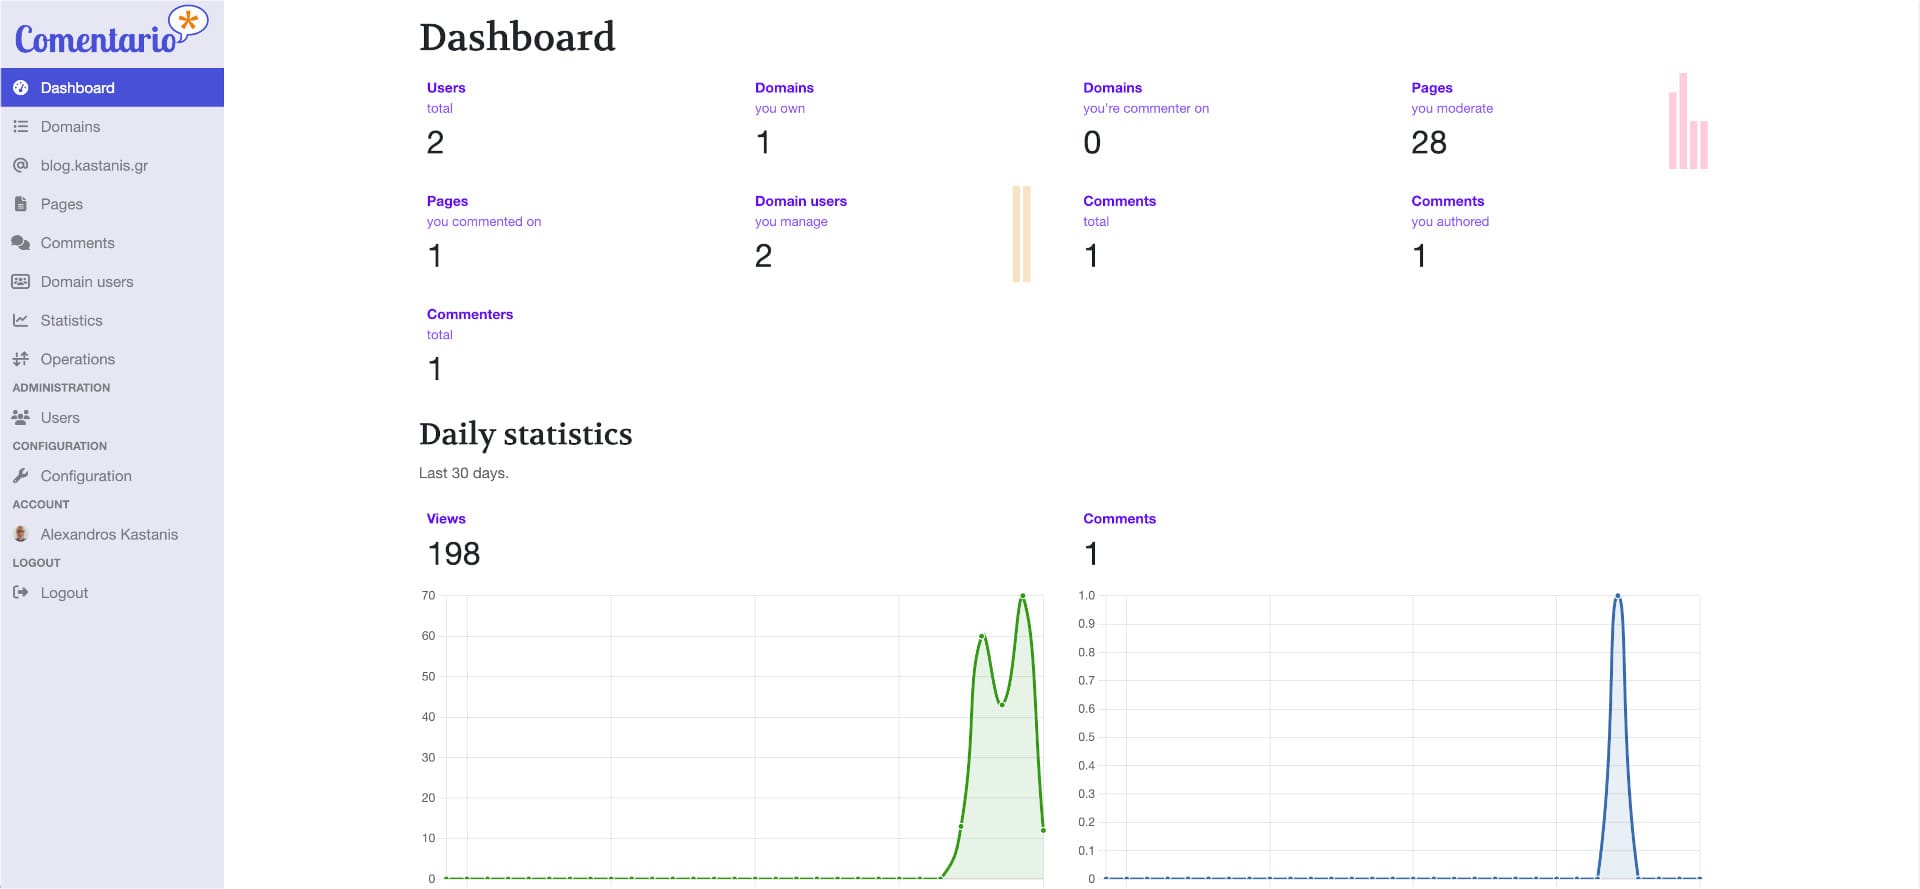
I've been avoiding having a comment system on this blog mainly because I didn't want the hustle of maintaining and moderating one. This has come at a price of having zero interaction with readers, and that bothered me since day one. I finally decided to have another look at the available self-hosted options and happily stumbled upon Comentario.
As per usual on this blog a docker compose yaml file is all it takes for a quick installation and here's my version of it:
services:
  comentariodb:
    image: postgres:16-alpine
    container_name: comentariodb
    environment:
      POSTGRES_DB: #NAME_OF_YOUR_DB#
      POSTGRES_USER: #DB_USERNAME#
      POSTGRES_PASSWORD: #DB_PASSWORD#
    ports:
      - "5432:5432"

  comentario:
    image: registry.gitlab.com/comentario/comentario
    container_name: comentario
    environment:
      BASE_URL: https://your.comentariourl.com
      SECRETS_FILE: "/secrets.yaml"
    ports:
      - "8080:80"
    volumes:
      - ./secrets.yaml:/secrets.yaml:ro
followed by a secrets.yaml you should save on the same directory as your docker-compose.yml from above
postgres:
  host:     comentariodb
  port:     5432
  database: #NAME_OF_YOUR_DB#
  username: #DB_USERNAME#
  password: #DB_PASSWORD#
The parameters inside # should be changed according to your preferences.
Once you have your container up and running you can enable the comments section on your blog by simply pasting 2 lines of code in your template. If you are using Ghost blogging engine on Docker with the Casper theme for example, you have to copy the post.hbs file from the running docker container, located at /var/lib/ghost/current/content/themes/casper/, edit it by replacing the #if comments part with the following
{{!--    {{#if comments}}  --}}
        <section class="article-comments gh-canvas">
            <script defer src="https://comments.yourblog.com/comentario.js"></script>
            <comentario-comments lang="en" theme="dark"></comentario-comments>
        </section>
{{!--    {{/if}}  --}}
and finally adding a bind mount in your Ghost docker compose file
volumes:
  - /local/path/to/post.hbs:/var/lib/ghost/current/content/themes/casper/post.hbs:ro
I've implemented Google and Github OAuth login by following this guide for Google and this one for Github. You can also implement authentication using Gitlab, Facebook, X, LinkedIn along with any available OIDC provider.
The full app documentation can be found at this link.
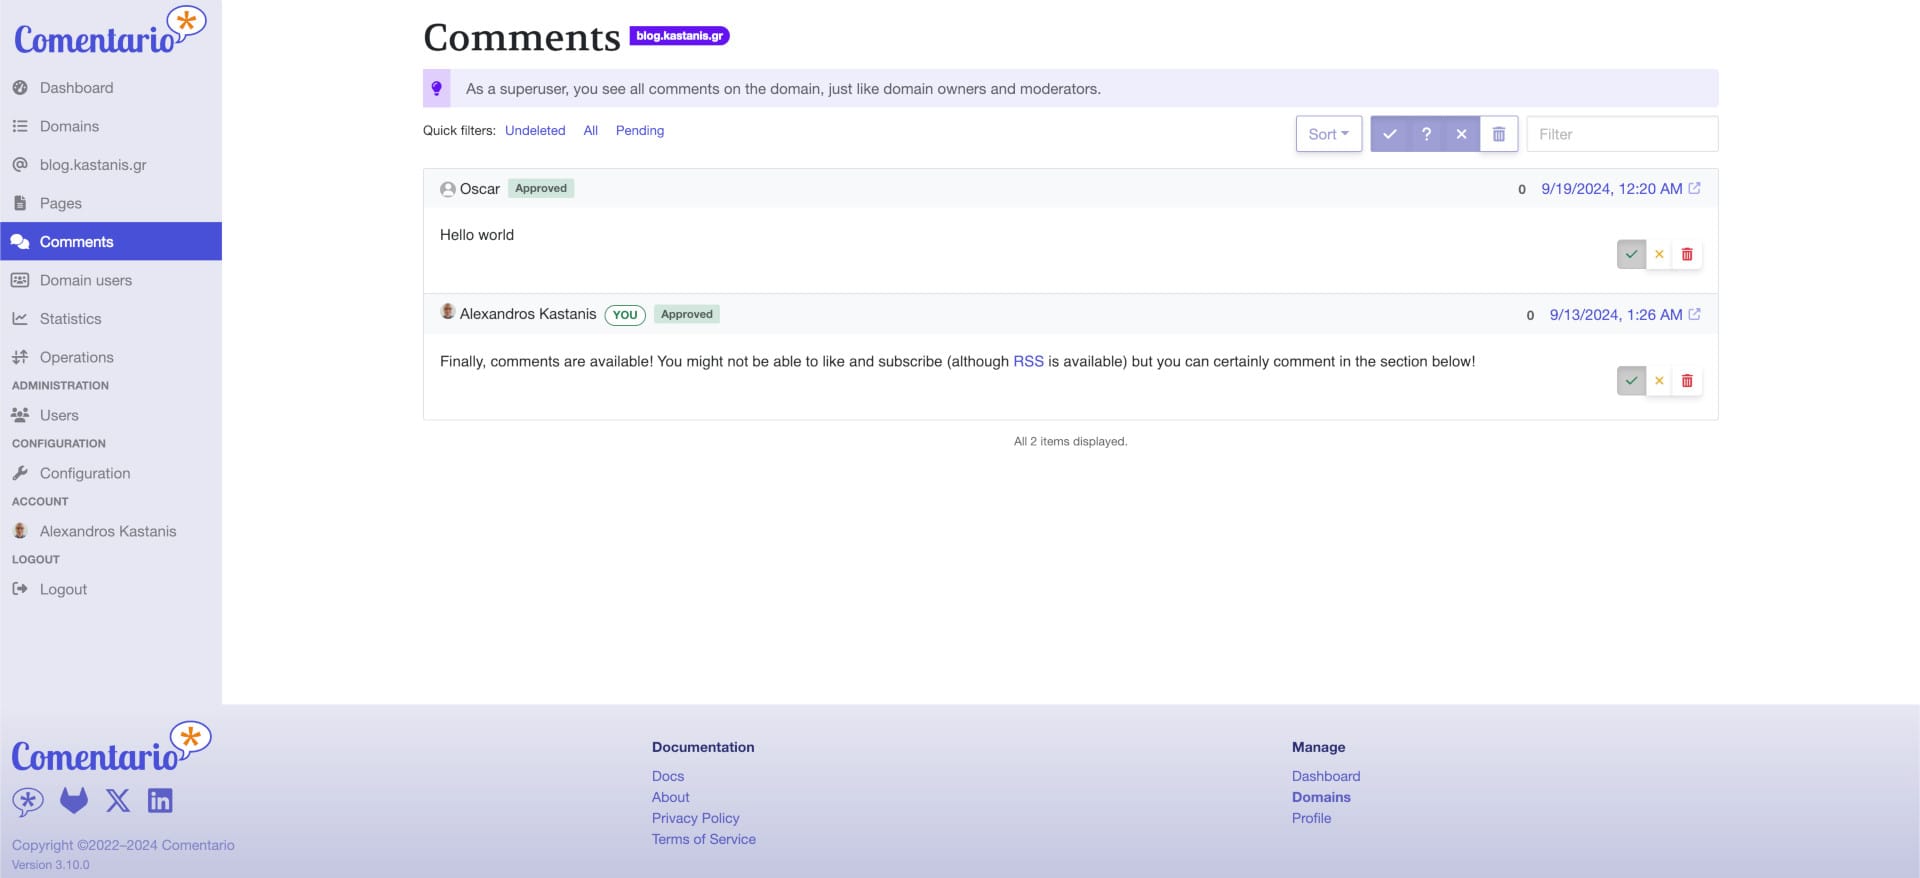
You can check out the final result in the comment section below...
Keep in mind that anonymous comments, although available, are moderated before publication.